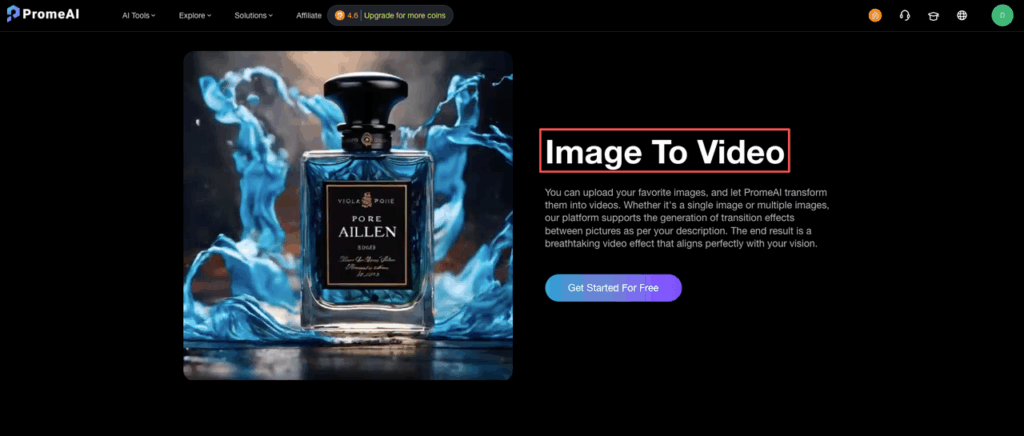
Most designers assume that to get dynamic, eye-catching video from AI, you need to crank every setting to the max. But after running hundreds of tests with PromeAI image to video, I’ve found the exact opposite is true: the secret to smooth motion isn’t more power—it’s restraint.
If you’ve been getting weird artifacts, warping walls, or “drunk” camera movements, you’re likely overcooking your settings. In this post, I’m debunking the “higher is better” myth and showing you the disciplined settings—specifically regarding animation strength and duration—that produce stable, cinematic motion. Let’s stop making our renders wobble and start making them flow.
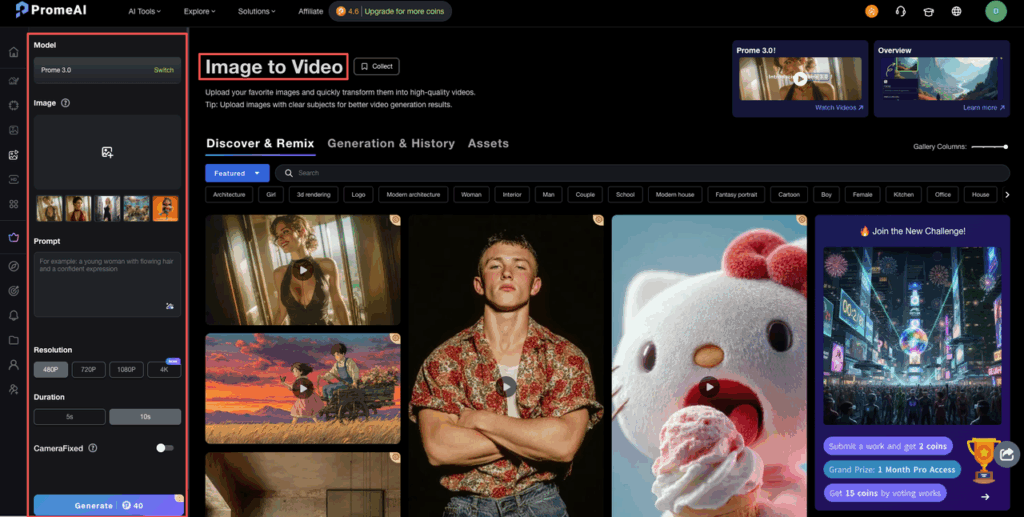
Inputs That Animate Well
Before we touch a single slider, the big truth: smooth motion starts with the right image. PromeAI is good, but if we feed it chaos, it gives us chaotic motion.
Image types for best results
From a week of testing across product shots, architecture renders, and social posts, here’s what animates best:
- Clear subject, clean background
Think: product on a gradient, person against a wall, building against sky. PromeAI reads edges better and movement looks intentional.
- Strong depth cues
Photos or renders with foreground, midground, and background give that nice parallax glide.
- Minimal tiny text
Tiny labels and super-fine UI text tend to shimmer or distort as the camera moves.
- No heavy motion blur baked in
If the original image already has blur, adding camera motion on top makes it feel mushy.
For architects, our best results came from:
- Exterior renders with a sharp skyline and clear ground plane
- Interior shots where the floor, ceiling, and one long wall are clearly visible
For product designers and marketers, we’ve had the easiest time with:
- 3/4 product views on a simple studio background
- Flat-lay setups where objects don’t overlap too much
If we’re unsure, we start with “poster-style” compositions: strong subject in the center, simple background, no clutter.
Resolution requirements
PromeAI can upscale internally, but we’ve noticed a pattern:
- Sweet spot input: 1080–1440px on the long edge
- Minimum we trust: 720px
- Overkill: Anything above 4K usually doesn’t add real motion detail: it just uploads slower.
What higher resolution actually helps with:
- Cleaner edges during camera moves
- Less “smear” on detailed objects (keyboards, textures, etc.)
Our quick rule:
- Social test or storyboard? → Export stills at 1080×1080 or 1920×1080.
- Client-ready deck video? → Export stills at 1920×1080 or 2048×1152 before using image to video AI settings.
If the original is tiny, we’ll first bump it with a simple upscaler, then run it through PromeAI.
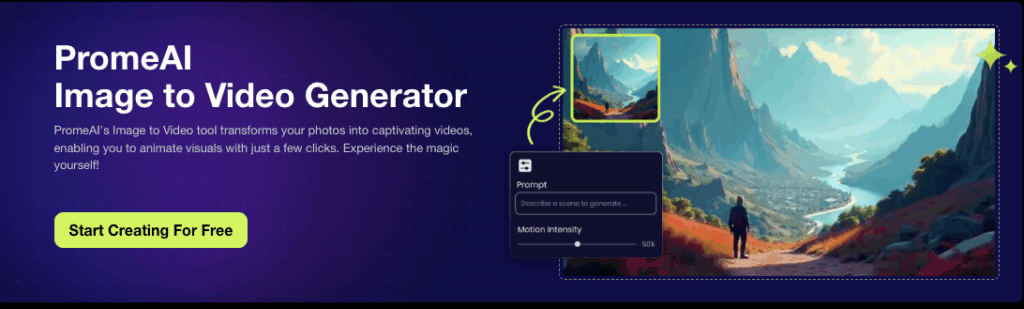
Motion Settings Explained
This is where the smooth motion magic almost happens. PromeAI makes it pretty visual, but a few sliders seriously change the vibe.
Animation strength
Think of animation strength like seasoning. Too low and nothing happens. Too high and the shot feels drunk.
How we treat it:
- 0.2–0.35 → Subtle, “camera breathing” motion
Great for hero product shots and UI screens.
- 0.35–0.6 → Noticeable, energetic motion
Our default range for product reveals and social posts.
- 0.6–0.8+ → Aggressive motion, more distortion risk
Fun for abstract art, risky for faces and logos.
Our go-to starting points:
- Product on clean background → animation strength: 0.4
- Architecture interior → animation strength: 0.3–0.45
- Social loop with text overlays → animation strength: 0.25–0.35
If we see walls bending or faces “breathing,” we pull strength down by 0.05–0.1 and re-run.
FPS options
FPS settings control how smooth the motion looks, but they also change how “polished” the output feels.
For most design work:
- 12 fps → Sketchy, storyboard feel. Great for concept boards and quick tests.
- 24 fps → Film-style smoothness. Our default for presentations and reels.
- 30 fps → Very smooth, almost “digital commercial.” Good for social ads, but heavier files.
What we use most:
- Client pitch decks → 24 fps
- Instagram / TikTok content → 24 or 30 fps (depending on platform preference)
- Rough exploration for ourselves → 12 fps to speed things up
If PromeAI’s docs or academy tutorials suggest different defaults in future updates, we’d still keep 24 fps as the baseline for a natural look.
Duration limits
Shorter clips almost always look smoother and more intentional.
From our tests:
- 2–4 seconds → Perfect for product reveals, header loops, and UI showcases.
- 5–8 seconds → Good for slow architecture pans and mood shots.
- 10+ seconds → You start to notice patterns repeating or “breathing” artifacts.
Our safe recipe for first runs:
- Duration: 3 seconds
- FPS: 24
- Animation strength: 0.35–0.4
If it looks great, then we stretch to 5–6 seconds for final exports. Pushing duration too early just multiplies any issues (flicker, warping, weird loops).
Flicker & Warp Fixes
We love PromeAI, but we’re not going to pretend every render is perfect. Flicker and warping happen, especially under pressure.
Common artifacts
Stuff we keep running into:
- Logo shimmer
Brand marks and tiny UI icons “buzz” between frames.
- Wall warping
In interiors, flat walls bend slightly during heavier moves.
- Face drift
Characters’ eyes or mouths shift just enough to look uncanny.
- Text jitter
Any small text, especially white on dark, can vibrate.
A lot of this is tied to how the model interprets depth and motion at higher animation strength.
Settings to reduce issues
Here’s the combo that’s saved us most often:
- Lower animation strength by 0.05–0.15
If we see warping, this is always our first move. 2. Use motion brush strategically
Instead of letting the whole frame move, we:
- Paint motion only on background elements for parallax.
- Avoid brushing over faces, logos, and small text.
- For product shots, brush behind the object so it feels like the camera moves, not the product itself.
- Shorten duration
Taking a clip from 7 seconds down to 3–4 seconds instantly reduces visible flicker. 4. Check for flicker fix options
If PromeAI offers a “flicker fix” or “stabilize” toggle (sometimes mentioned in their image-to-video docs), we keep it on for:
- Logo intros
- Text-heavy frames
- UI screens
As a backup, we’ll sometimes export two variations with slightly different animation strengths and crossfade them in a video editor to hide the worst frames. It’s a bit hacky, but it works surprisingly well for hero shots.
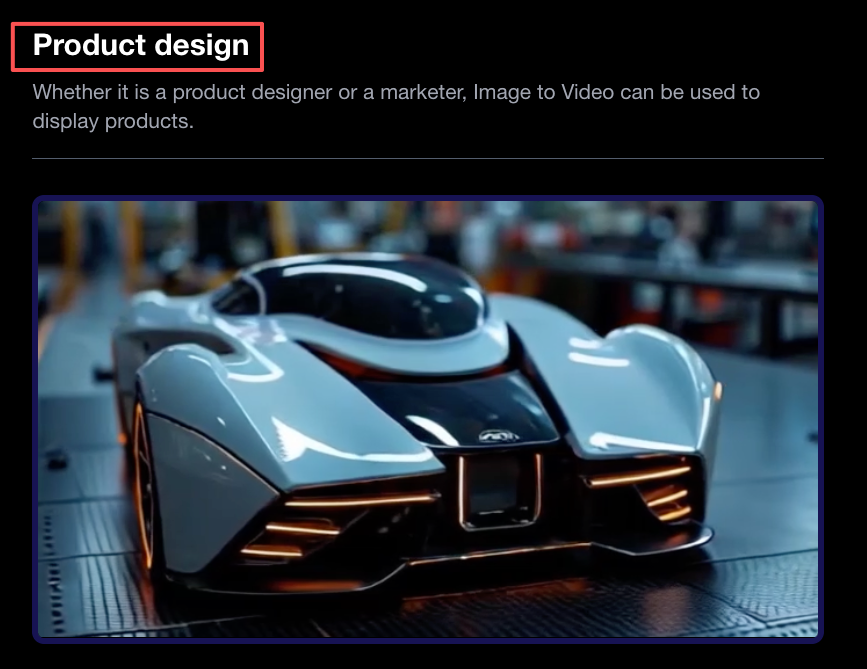
Best Use Cases
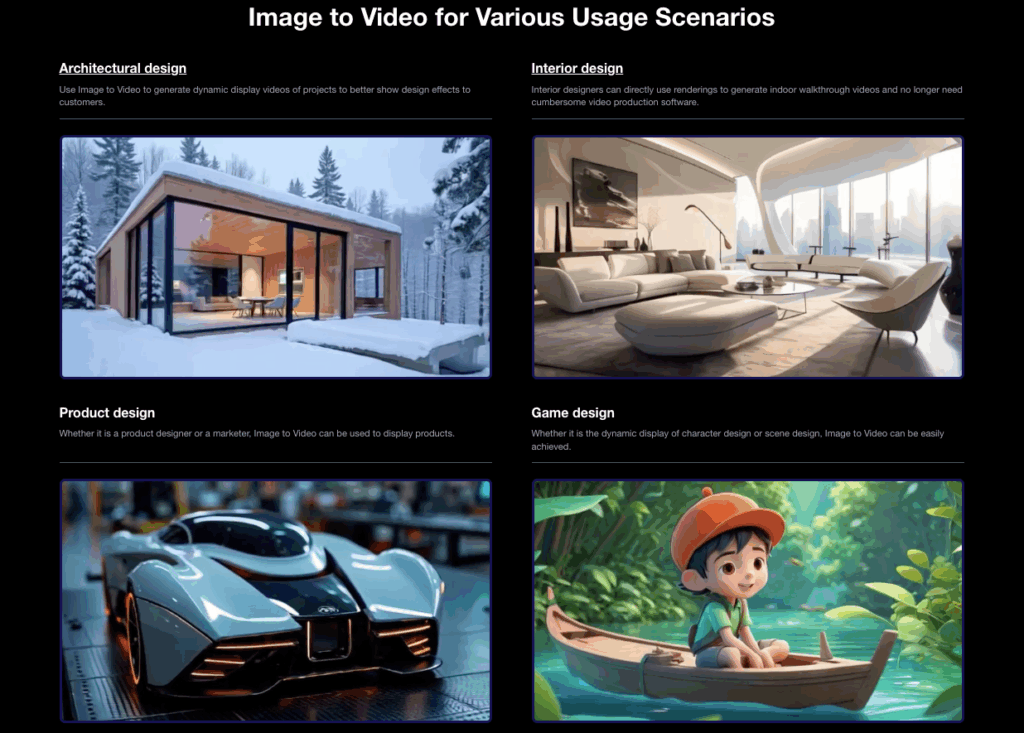
Product reveals
This is where PromeAI’s image to video tool feels unfairly good.
Our go-to recipe:
- Input: 3/4 product shot on clean background
- Animation strength: 0.4
- FPS: 24
- Duration: 3 seconds
- Motion brush: light stroke on background only, avoiding the product and logo
Result: gentle camera push-in, background shifting just enough to feel premium, product stays sharp. Perfect for:
- Launch decks
- Amazon / Shopify video slots
- Short paid social cutdowns
Architecture walkthroughs
We’re not replacing full 3D flythroughs here, but for quick concept pitches, this is gold.
What’s worked best for us:
- Input: High-res interior render (1920×1080), clear vanishing point
- Animation strength: 0.3–0.35
- FPS: 24
- Duration: 4–6 seconds
- Motion brush: focused on far walls, windows, and ceiling
This creates a subtle “step forward” or “look around” feel without the hassle of animating a full camera path in 3D. For early-stage client talks, we’ve swapped in these clips instead of static boards, and the room energy instantly changes.
Social media content
For social, we lean slightly bolder but still try to keep it smooth.
Our default social post preset:
- Format: 1080×1350 or 1080×1920 still
- Animation strength: 0.45 (we’re okay with a bit more movement here)
- FPS: 24 or 30
- Duration: 3–5 seconds loop
- Flicker fix: on, if available
We often:
- Keep the subject stable
- Animate background gradients or patterns with motion brush
- Add text later in a video editor to avoid text jitter inside the model
For quick trend tests, we’ll even batch a few variants using the PromeAI image-to-video generator and see which motion pattern pops most in-feed.
Settings Log Examples
Here are a few “copy-paste and tweak” setups we keep in our own notes.
Preset 1 – Clean Product Hero
- Image: 3/4 product on light gradient, 1920×1080
- Animation strength: 0.4
- FPS settings: 24
- Duration: 3 seconds
- Motion brush: background only, avoid product + logo
- Extra: enable any flicker fix / stabilization toggle
Preset 2 – Interior Concept Glide
- Image: Interior render, clear one-point perspective, 1920×1080
- Animation strength: 0.32
- FPS settings: 24
- Duration: 4–5 seconds
- Motion brush: far wall, windows, ceiling: skip furniture edges
- Note: If walls warp, drop strength to 0.28 and retry
Preset 3 – Social Scroll-Stopper
- Image: Vertical promo graphic, 1080×1920
- Animation strength: 0.45
- FPS settings: 24 or 30
- Duration: 3–4 seconds, looped in editor
- Motion brush: behind main subject, light strokes through background shapes
- Text: added later in editor to avoid jitter
We’ve stress-tested similar setups against other AI tools (plus old-school keyframing), and PromeAI keeps winning on “time from still image to usable motion.” If you want to go deeper, the AI video generator overview and comparison posts (like their Prome AI vs. Veo 3 breakdown) are worth a skim.
Turn a simple sketch into a client-ready presentation in minutes, not hours. See how PromeAI streamlines your commercial design pipeline and speeds up approvals.
Curious where you’re getting stuck: is it flicker, warped geometry, or just picking the right animation strength? If you send us one typical frame and your current settings, we could probably guess your main headache in under 10 seconds.
Frequently Asked Questions
What is PromeAI image to video smooth motion and how does it work?
PromeAI image to video smooth motion is an AI tool that turns a single still image into a short animated video. It simulates camera moves and parallax by estimating depth in your image, then animating background and foreground layers using settings like animation strength, FPS, duration, and motion brush.
What are the best settings for smooth motion in PromeAI image to video?
A reliable starting recipe is: 3-second duration, 24 fps, and animation strength around 0.35–0.4. Use a clear subject on a simple background and apply the motion brush mainly to background areas. If you spot flicker or warping, lower animation strength by 0.05–0.1 and shorten the clip.
Which types of images animate best with PromeAI for smooth motion?
Images with a clear subject and clean background work best: product shots on gradients, people against walls, or buildings against the sky. Strong depth cues (foreground, midground, background) help create parallax. Avoid clutter, tiny text, and baked-in motion blur, which often cause shimmer, distortion, or mushy movement.
How can I fix flicker and warping in PromeAI image to video smooth motion clips?
To reduce artifacts, first lower animation strength slightly. Then use the motion brush only on safe areas like backgrounds, avoiding faces, logos, and small text. Shorten long clips to 3–4 seconds and enable any “flicker fix” or stabilization toggle. If needed, export two variants and crossfade them in an editor.
Can I use PromeAI image to video for social media and ads?
Yes. For social content, start with 1080×1350 or 1080×1920 stills, 24–30 fps, 3–5 second duration, and animation strength around 0.4–0.45. Keep the main subject stable, animate backgrounds with the motion brush, and add text later in a video editor to avoid jitter on titles or captions.
Recommended Reads
Leave a Reply