It’s 11 PM. You are staring at your screen, watching your main character walk down a hallway. In shot A, the lighting is a moody masterpiece. You hit generate for shot B, and suddenly it’s high noon in a sitcom, the camera has dropped to the floor, and your character is wearing a different jacket. Sound familiar?
I’m Millie, an AI video producer, and I used to lose sleep over this exact continuity nightmare. The turning point for me was realizing I was asking the model to do too much at once. That’s when I developed a dedicated Seedance 2.0 scene design workflow. Let me show you how to compose references in PromeAI scene generator before you generate. We are going to lock down your world—the lighting, the framing, the negative space—so the AI has no choice but to follow your exact vision.
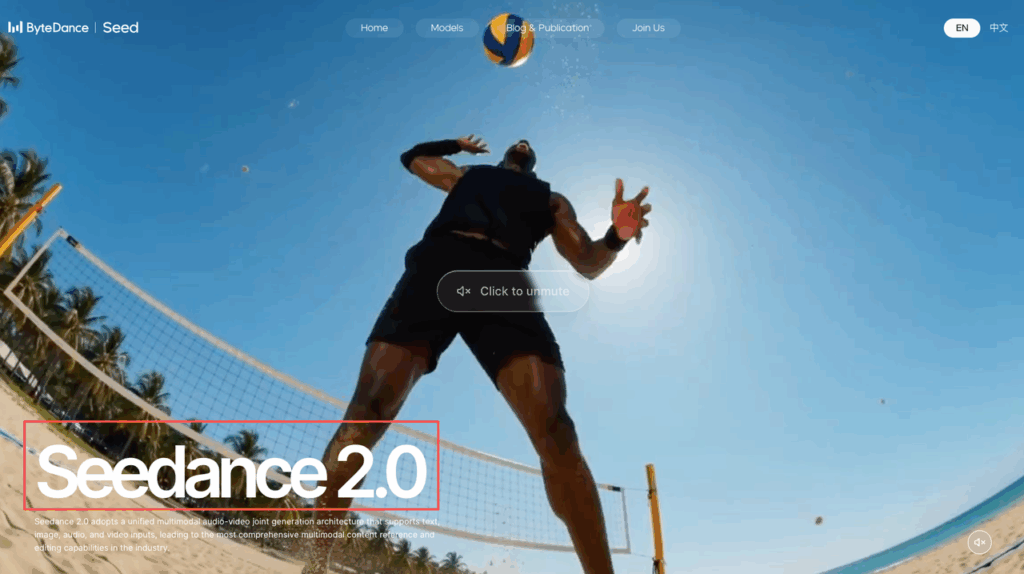
Why pre-designing scenes beats trial-and-error generation
If we’re generating “from vibes,” we’re basically asking Seedance 2.0 to do three jobs at once:
- Invent the scene layout
- Choose a camera + lens feel
- Decide lighting + mood
That’s when we get the classic pain:
- The product jumps from left to right across cuts
- The “same” character becomes a cousin every other shot
- The background keeps reinterpreting itself (hello, random windows)
Pre-designing scenes flips the whole thing.
We make the scene decisions once, layout, horizon line, key light direction, negative space, then we use generation for what it’s great at: texture, styling, polish, and controlled motion.
A quick metaphor we use with teams: prompting is like seasoning.
If the dish (composition) is wrong, more seasoning won’t fix it. But if the base is solid, even small prompt changes feel powerful.
And practically? Pre-designing gives us:
- Fewer rerolls (because we’re not “searching” for a camera)
- Cleaner continuity across a sequence
- Faster approvals from marketing/product folks, because they can sign off on a layout before we generate 40 variants
We’re still going to iterate, but we’re iterating on the same shot, not a moving target.
Scene composition in PromeAI (step-by-step)
We like PromeAI for AI scene blocking and composition for this stage because it’s quick for blocking: you can get a readable “plate” fast, without overthinking it.
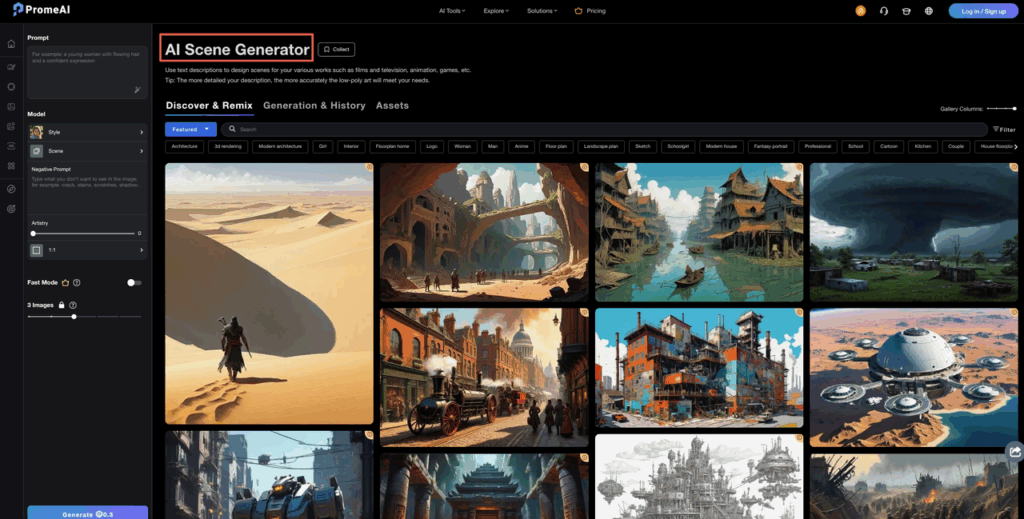
Here’s the simple two-part build we use.
Background plate + lighting setup
Goal: lock the world before we introduce anything that needs consistency (a person, a product, a logo).
Steps we follow:
- Pick the frame first. Decide your final aspect ratio up front (16:9 for most video, 9:16 for vertical ads). Don’t leave this for later.
- Block the environment with big shapes. Walls, floor plane, skyline, countertop, keep it chunky.
- Choose one key light direction and commit.
- We literally write it on the side of the canvas: “Key light: camera left, 45° down.”
- Add a basic lighting note for ourselves:
- “Soft key, hard rim, low fill” (or whatever the shot needs)
Quick check before moving on:
- Can we read the depth in 2 seconds?
- Is there clear negative space where a subject can sit?
- Are we accidentally building a “too interesting” background that will compete with the subject?
Ready to move beyond trial-and-error? We invite you to build a simple background plate in PromeAI and use it as your next Seedance 2.0 anchor. It only takes a few minutes to set your lighting and see if our workflow brings the stability you need.
Character placement + camera angle
Goal: decide where the subject lives and how the viewer experiences the shot.
Steps:
- Place the subject as a silhouette first. Don’t get precious. A gray cutout is enough.
- Choose a camera angle and keep it consistent:
- Eye level (most “trustworthy”)
- Slight low angle (hero/product power)
- Slight high angle (overview, calm)
- Set a basic “lens feel” note:
- Wider = more environment, more drama
- Longer = flatter, more premium, more controlled
- Mark your anchors:
- Subject centerline
- Horizon line
- Any straight verticals (door frames, building edges) that must stay straight
If we’re doing multiple shots, we build a mini shot list right here:
- Shot A: wide establishing
- Shot B: medium with interaction
- Shot C: close-up detail
That shot list becomes our continuity guardrail later.
Export settings for Seedance 2.0 compatibility
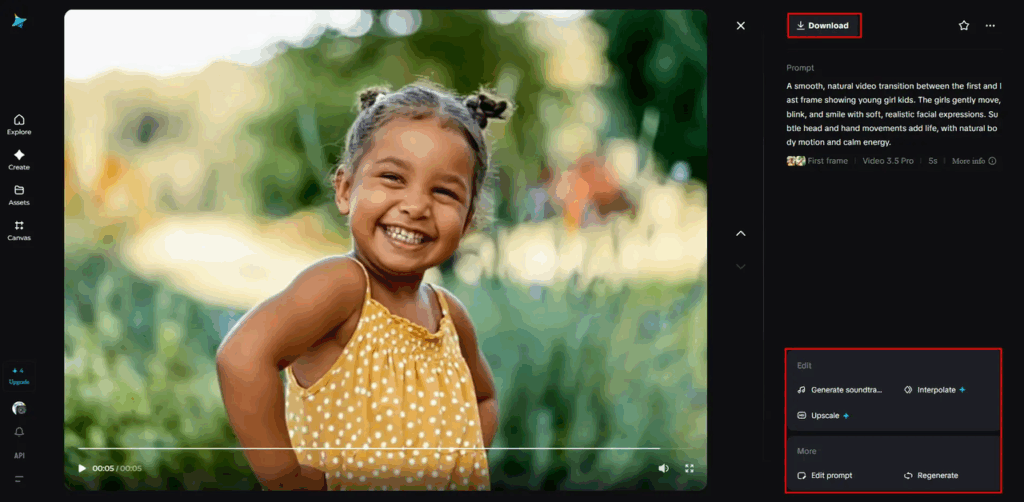
This part is boring… until it saves your whole day.
When exports are inconsistent, Seedance 2.0 has to “interpret” too much. So we keep outputs predictable.
What we export from PromeAI (or any scene tool) before we generate:
- Clean background plate (no subject)
- Full comp (subject + environment)
- Optional but helpful: mask/alpha for the subject if you can get it
Our practical export checklist:
- Format: PNG for plates (keeps edges clean), JPEG only if file size is a hard constraint
- Resolution: match your target delivery (don’t upscale later if you can avoid it)
- Color: keep it standard (sRGB) unless your pipeline is color-managed end-to-end
- Naming: include aspect + shot ID (e.g., A_16x9_plate.png, B_9x16_full.png)
And one tiny habit that matters more than it should:
- Export everything from the same canvas size. Even a small crop difference can change how the model frames the subject.
Seedance 2.0’s official capabilities page doesn’t publish a single universal “best export spec” for every use case, but it does make clear the system is built for high-quality generation where inputs and references matter. Keep your inputs consistent and it behaves more consistently.
Reference layering: style lock → identity anchor → motion cues
If we feed Seedance 2.0 a pile of references all at once, it may blend them like a smoothie.
We get better control by layering references in this order:
- Style lock — This is the “look”: color palette, contrast, texture, era. Think: “clean studio product lighting” or “grainy 16mm street doc.”
- Identity anchor — This is the “who/what”: the exact character face, the exact product silhouette, the logo placement. If identity matters, we keep this reference clean and close to the final angle.
- Motion cues — This is the “how it moves”: turn, reach, tilt, push-in. We keep motion cues simple and literal.
Here’s the cheat-sheet we paste into our project notes so the team stays aligned:
- Prompt: “Studio tabletop shot, soft key from camera left, subtle rim light, shallow depth of field, background stays fixed, product centered on rule of thirds.”
- Model: Seedance 2.0 (scene-first workflow)
- Seed: We keep one seed per shot while dialing composition, then branch seeds later for variety
The big idea: we don’t ask the model to guess what matters. We tell it what’s sacred (style + identity), then we add motion like a final instruction, not a surprise.
What breaks references (and how to prevent it)
We’ve broken references in every possible way. Here are the repeat offenders — and the fixes that actually work. For an in-depth technical breakdown, see this Seedance 2.0 prompt constraints and flicker/warp troubleshooting guide.
1) Mismatched camera angles between references
- Symptom: identity drifts, proportions feel off, the model “recasts” your subject.
- Fix: keep your identity anchor close to the final framing (same angle, similar crop).
2) Lighting conflicts
- Symptom: the background plate says “soft daylight,” but the subject shows up with harsh stage lighting.
- Fix: bake a simple lighting plan into the plate and repeat it in the prompt.
- Example: “Key left 45°, low fill, rim right.”
3) Busy backgrounds
- Symptom: the model keeps adding props or visual noise, and your subject loses priority.
- Fix: simplify the plate. If the background is doing a lot, the model will do more.
4) Changing aspect ratios midstream
- Symptom: reframing, cropped heads, product slides out of the hero area.
- Fix: decide the aspect ratio before you generate anything. Lock it.
5) Too many instructions in one prompt
- Symptom: the model “half does” each instruction.
- Fix: write prompts like a storyboard:
- First line: camera + framing
- Second line: lighting
- Third line: action (motion cue)
Also, quick trust note we tell clients: If your references include real people or sensitive brand assets, treat uploads like you would any external tool. Check your org’s policy first. If you’re unsure, use synthetic stand-ins during exploration, then swap in approved assets for final production.
Mini case studies (ad, short film, product)
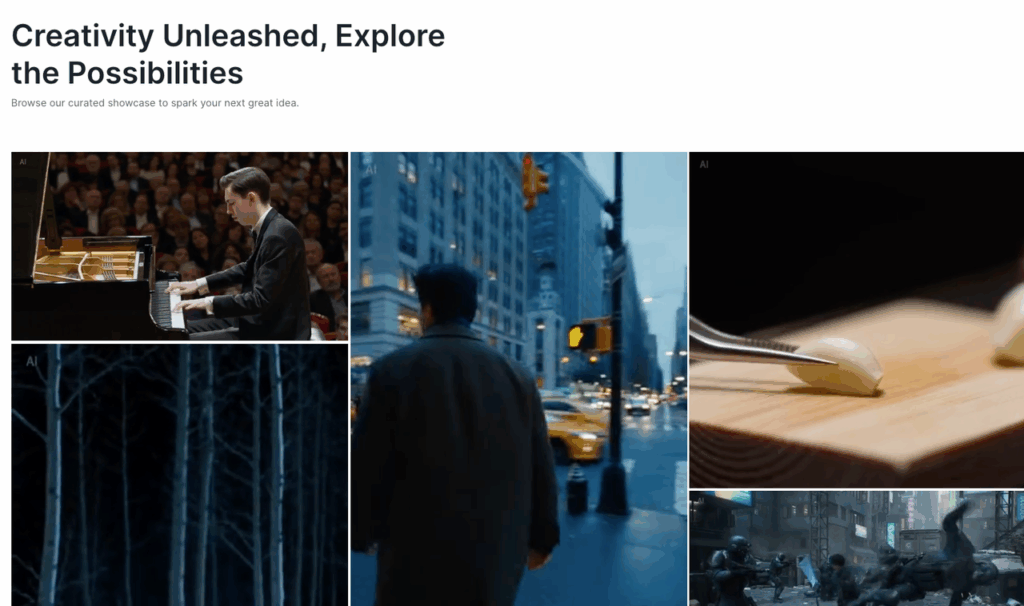
We’ve been stress-testing this scene-first approach on real work, and three patterns keep showing up.
1) Ad spot: 9:16 skincare bottle (3 shots)
What we did:
- Built a simple bathroom-counter plate with a soft window key (camera left).
- Exported: plate + full comp.
- Kept Seed fixed for Shot A until the bottle stayed put.
What surprised us:
- The moment we simplified the background (less tile detail), the label stayed cleaner.
Our takeaway:
- For ads, the plate should feel like a stage. The product is the actor.
2) Short film: character enters a hallway (wide → medium)
What we did:
- Locked the hallway perspective lines first.
- Used an identity anchor that matched the medium shot crop.
- Added motion cues last: “walk forward 3 steps, slight head turn, camera slow push-in.”
What surprised us:
- Continuity got way easier once we stopped changing camera height between shots.
Our takeaway:
- Keep camera height consistent across a sequence unless the story needs the change.
3) Product design: concept render in context (industrial gadget on workbench)
What we did:
- Pre-designed negative space for annotations (yes, even in AI renders).
- Style lock: “clean documentary workshop lighting, cool shadows, realistic materials.”
What surprised us:
- When we left space for callouts in the plate, the model didn’t cram extra objects into that area.
Our takeaway:
- Composition isn’t just aesthetics — it’s planning for downstream needs (type, UI overlays, legal text).
Now we want to hear it: where do you usually get stuck in your workflow — keeping the character consistent, keeping the camera consistent, or getting the lighting to stop changing every take?
Seedance 2.0 Scene Design FAQs
What is Seedance 2.0 scene design, and why should I pre-design the scene first?
Seedance 2.0 scene design is a scene-first workflow where you lock composition (layout, horizon line, camera feel, and key light direction) before generating. Pre-designing prevents Seedance from “helping” by reframing, shifting subject spacing, or changing lighting, which improves continuity and reduces rerolls.
How do you build a consistent composition for Seedance 2.0 in PromeAI?
Start by choosing the final aspect ratio (like 16:9 or 9:16), then block the environment with big shapes and commit to one key light direction. Next, place the subject as a simple silhouette, pick a consistent camera angle and lens feel, and mark anchors like centerline and horizon. The PromeAI scene generator makes this process fast and visual.
What export settings work best for Seedance 2.0 compatibility?
Export predictable inputs so Seedance 2.0 has less to interpret: a clean background plate, a full comp, and optionally a subject mask/alpha. Use PNG for plates, match your delivery resolution, keep color in sRGB unless fully color-managed, and export everything from the same canvas size to avoid reframing drift.
How should I layer references in Seedance 2.0 to keep style and identity consistent?
Layer references in this order: style lock (palette, texture, era), then identity anchor (exact face/product/logo at a similar angle and crop), then motion cues (simple, literal actions). This structure tells Seedance 2.0 what’s “sacred” first, then adds movement without blending everything together.
Why does Seedance 2.0 keep changing my character, camera, or lighting between shots?
Continuity usually breaks from mismatched camera angles between references, conflicting lighting (plate vs subject), busy backgrounds, changing aspect ratios midstream, or overloaded prompts. See the Seedance 2.0 prompt constraints and flicker/warp fix guide for detailed solutions on each failure mode.
Leave a Reply