
Can an AI 3D model generator realistically replace the first few hours of manual modeling work, or is it just another “cool but useless” demo tool? I’m Millie, and I tested PromeAI’s 3D generator against the kind of work we actually bill for: product visualization, concept decks, early UX prototypes, and game asset drafts. This guide cuts through the hype with file format breakdowns, poly count expectations, input image best practices, and honest limitations we hit on real projects. If you’re deciding whether PromeAI 3D model generator capabilities fit your 2026 pipeline—or if you’re just tired of burning time on throwaway concept models—here’s everything we learned stress-testing it on furniture, gadgets, and archviz props.
PromeAI 3D Capability Map
What’s possible today
We spent a few evenings feeding PromeAI product shots, simple furniture photos, and some rough industrial sketches, using the 3D generator.
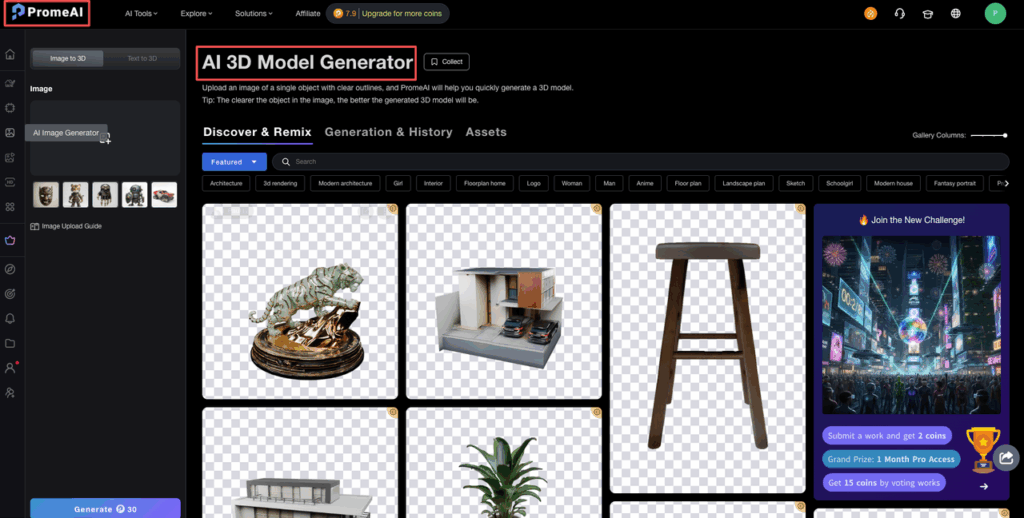
Here’s what it’s actually solid at right now:
- Single‑object 3D extraction from an image
Give it a clean product shot (white or neutral background) and it does a surprisingly good job of turning it into a 3D mesh you can orbit and export.
- Readable forms and proportions
Chairs, bottles, speakers, simple gadgets – shapes come back believable enough for concept decks or early UX flows.
- Decent auto‑texturing from the photo
If the photo has clear materials (glossy plastic, metal, fabric), PromeAI usually bakes something close into the texture. It’s not PBR‑perfect, but it’s “good enough” for storyboards and quick renders.
A typical test we ran:
- Input: product photo of a matte black Bluetooth speaker on a white table, 2048×2048 JPEG
- Goal: fast 3D asset for a landing‑page hero mockup
- Result: 3D mesh with correct overall volume, recognizable grill pattern, rough plastic texture baked into a single material
Our honest take:
- For concept visualization, it’s already a time saver.
- For production‑ready assets, it’s a starting point, not the final model.
If you’ve ever spent an afternoon box‑modeling a prop you knew the client might reject tomorrow, this is where PromeAI quietly earns its place.
What’s coming soon
PromeAI’s docs and public chatter (plus the pattern we’re seeing in updates on their main site) suggest a few clear directions:
- More control over topology
Right now, meshes are “whatever the AI spits out.” Expect options like low / mid / high poly presets or “retopo‑friendly” exports.
- Better material handling
Today we mostly get a single texture set. Coming features are likely to include separate normal/roughness maps or presets ready for Unreal/Unity pipelines.
- More stable multi‑view support
Single photos work best. Multi‑view or reference + text prompt combos feel like the next upgrade, based on how similar tools are moving.
We don’t have exact dates (they haven’t posted a road map with timelines), so we treat these as “probable” rather than promised. For now, we plan workflows around what it already does well, then watch for these upgrades to tighten the pipeline later.
Input Requirements
Image types that work
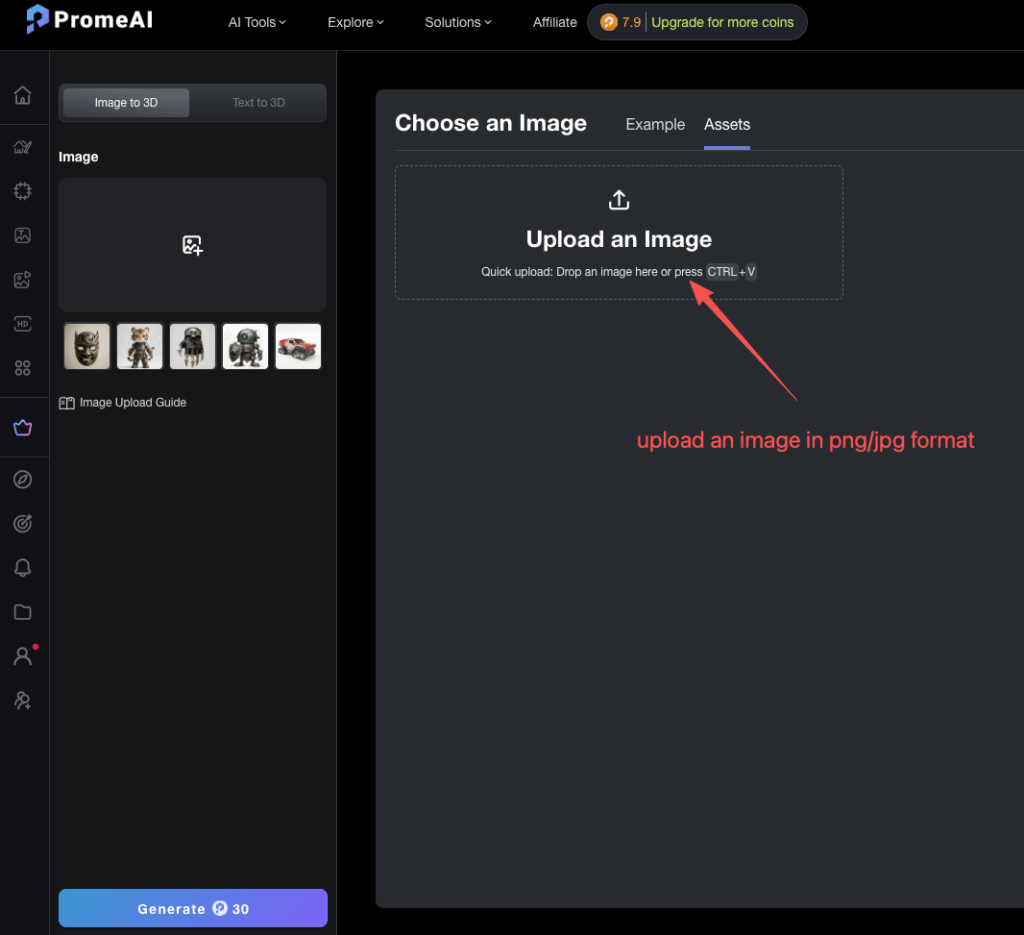
We tried to break it a bit here.
Best‑case input:
- Format: JPG or PNG
- Subject: single object, clear silhouette
- Background: plain, low‑clutter (solid or soft gradient)
- Camera: not super wide‑angle, modest perspective
What worked great:
- Simple furniture (chairs, stools, side tables)
- Consumer products (bottles, headphones, desk lamps)
- Shoes and bags with clear edges
What made it struggle:
- Busy lifestyle images where the object blends into the background
- Transparent/glassy products with lots of reflections
- Anything that’s mostly fur, hair, or intricate cables
If we’re doing serious work, we’ll often spend 2–3 minutes prepping the image first:
- Cut the object out on white or 50% gray
- Boost contrast slightly so edges are crisp
- Avoid motion blur at all costs
Think of it like seasoning: good, clean source photos = better “flavor” in the 3D output.
Resolution guidelines
We tested a spectrum from small 512px previews up to 4K source photos.
Our takeaways:
- Sweet spot: 1024–2048 px on the smallest side
- Below ~768 px, details smear and small features vanish
- Above ~2048 px, we didn’t see proportional quality gains – just slower processing
So our rule of thumb:
- For quick tests / mood boards: 1024×1024 is enough
- For client decks / higher‑quality previews: 2048×2048 or roughly 2K on the short edge
Going much bigger doesn’t hurt, but it doesn’t really help either, based on our runs.
Output Formats & Quality
OBJ, FBX, GLB comparison
PromeAI gives us the usual suspects: OBJ, FBX, and GLB. We imported each into Blender and a couple of DCC tools clients actually use.
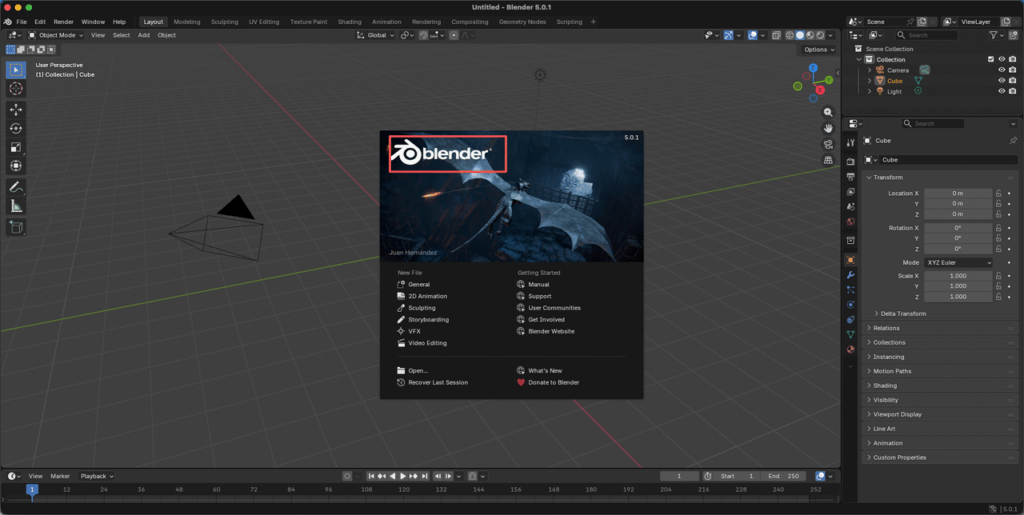
Here’s how we’d use them:
- OBJ
- Simple, widely supported
- Good for Blender, 3ds Max, Maya when we just want the mesh + basic materials
- No rigging or animation data (which is fine: these are static props)
- FBX
- Handy if we’re bouncing assets between Adobe tools, game engines, and DCCs
- Overkill for pure static concepts, but nice if your studio standard is FBX
- GLB
- Our pick for web previews, AR experiments, and quick sharing
- Packs model + textures into a single file
- Works well with web viewers and prototyping tools that accept GLTF/GLB
If we’re making a deck or quick interactive preview for a client, we export GLB. For internal 3D teams, we usually hand over OBJ plus the textures.
Polygon count expectations
A few rough numbers from our tests (your mileage will vary slightly by subject):
- Simple objects (bottles, speakers, basic chairs): 10k–30k tris
- Medium detail (sneakers, office chairs, small gadgets): 30k–80k tris
- Fussy silhouettes (plants, multi‑part props): 80k+ tris and sometimes well beyond what we’d want in a game scene
Important detail: topology isn’t “clean” in a traditional modeling sense.
- You’ll see irregular quads/triangles, some dense zones, and uneven edge flow.
- For rendered marketing visuals or static layouts, this is usually fine.
- For real‑time and games, we almost always:
- Run a decimation / retopo pass in Blender or similar
- Re‑bake textures as needed
So yes, PromeAI 3D model generator capabilities give us meshes we can ship into pipelines, but in many studios they’re treated as auto‑blocked base meshes that a 3D artist cleans up before final delivery.
Best Use Cases
Concept visualization
This is where PromeAI feels like cheating – in a good way.
Example workflow we used with a product design team:
- Snap a front‑angled photo of a foam core mockup of a handheld device.
- Feed that into PromeAI’s 3D generator.
- Export GLB and drop it into a simple lighting setup.
- Swap colors, add overlay UI, render for a slide deck.
Total time: under an hour instead of a day of modeling.
For architects and interior designers, we see loads of potential too:
- Turn a chair or lamp reference into a quick 3D stand‑in
- Populate early massing models with recognizable props
- Explore alternate product options visually before committing to detailed models
It’s basically a fast way to go from “mood board thing” → 3D thing you can orbit.
Quick prototyping
For UX, industrial design, and marketing exploratory work, PromeAI becomes a rapid sketch partner.
We’ve done:
- Early packaging tests – rough bottle from photo → render on a fake shelf
- Point‑of‑sale displays – quick 3D assets to test shelf layouts
- Landing page hero tests – throw modeled props into a 3D layout before the final photoshoot
In this phase, we don’t care if the mesh is a bit messy. We care if:
- The silhouette reads well
- The scale feels right next to other elements
- The lighting and reflections sell the idea
And on those three, PromeAI usually hits close enough for us to move fast.
Game asset drafts
For game and real‑time teams, we’d treat PromeAI as an idea generator rather than a production factory.
Good use cases:
- Draft props for early blockout scenes (crates, barrels, furniture, decor)
- Exploring shapes before investing in proper sculpting
- Testing scene composition and camera angles with placeholder assets
But we stay realistic here:
- The meshes aren’t optimized for real‑time out of the box
- UVs and textures often need a clean‑up pass
- Stylized pipelines (toon, hand‑painted) still benefit from a human touch
So if you lead a game team, our suggestion is:
- Use PromeAI to fill your graybox levels with recognizable objects fast.
- Then hand key assets to artists for retopo, proper UVs, and style matching.
Ready to speed up your graybox phase? Test PromeAI on your furniture or gadget sketches and let us know if it cuts down your modeling time. Start exploring now.
Current Limitations (Honest Assessment)
We’ve been pretty positive so far, but there are hard edges.
Here’s where PromeAI 3D model generator capabilities currently hit limits:
- No precise control over topology – you can’t tell it “give me a clean low‑poly mesh with perfect quads.”
- Messy results on complex backgrounds – cluttered scenes confuse the model.
- Fine detail is hit‑or‑miss – laces, cables, tiny knobs often get softened or merged.
- Consistency across multiple shots – generating the same object from two different photos can yield slightly mismatched geometry.
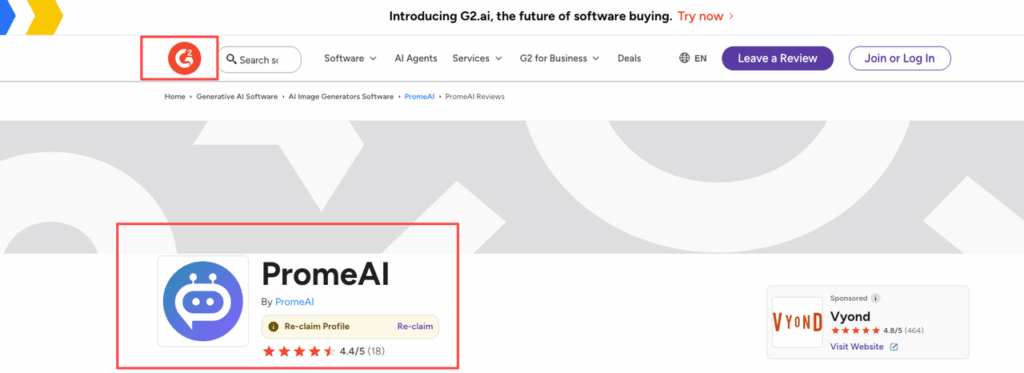
Reviews on G2 echo a lot of this: people like the speed and visuals, but serious production teams still see it as a starting point, not a one‑click replacement for modeling.
Alternatives & Workarounds
If we hit those limitations, we don’t ditch PromeAI – we just build a smarter workflow around it.
Workarounds we actually use:
- Pre‑cut images: Use Photoshop or Figma to isolate the object on plain background before upload.
- Post‑process mesh: Run the output through Blender’s Decimate or Retopoflow (or similar tools) to clean topology for games or AR.
- Reproject textures: For higher quality, we’ll sometimes bake new textures from a cleaned mesh using the original photos as reference.
Alternatives for specific needs:
- If we need scanned, physically accurate assets, traditional photogrammetry tools (RealityCapture, Metashape) still win – but they’re slower and require more setup.
- If we’re exploring pure text‑to‑3D concepts, other AI tools are emerging, but in our tests PromeAI’s image‑based approach often gives more grounded results for real products.
So our current stance:
- For professional designers chasing speed and visual clarity, PromeAI is already worth folding into the toolkit.
- For final, hero‑level assets, we still expect a 3D artist to refine, optimize, and style.
We’re treating PromeAI as the friend who does the first 70% of the grunt work, so our human specialists can push the last 30% where it really counts.
Curious how this fits into your projects: Where do you usually get stuck – getting a 3D version of the idea, or cleaning it up for final delivery?
Frequently Asked Questions
What can the PromeAI 3D model generator capabilities handle well right now?
PromeAI’s 3D model generator is strongest at turning single-object photos on clean backgrounds into usable 3D meshes. It handles products, simple furniture, shoes, and gadgets with believable proportions and basic auto-texturing. It’s ideal for concept visualization, decks, UX flows, and quick marketing mockups—not finalized production assets.
What input images work best with the PromeAI 3D generator?
You’ll get the best results from JPG or PNG images showing a single object with a clear silhouette, on a plain or low-clutter background, shot with moderate perspective. Avoid motion blur, busy lifestyle scenes, heavy reflections, transparent objects, or lots of hair, fur, and thin cables, which tend to confuse the model.
Which output formats and poly counts should I expect from PromeAI 3D model generator capabilities?
PromeAI exports OBJ, FBX, and GLB. GLB is great for web and quick previews; OBJ and FBX fit most DCC and game pipelines. Poly counts typically range from 10k–30k tris for simple objects up to 80k+ for complex shapes, with uneven, non-production-ready topology that often benefits from decimation or retopo.
What are the main limitations of the PromeAI 3D model generator for professional use?
Current limitations include no precise control over topology, inconsistent results on cluttered or complex backgrounds, softened small details like laces or cables, and slight geometry mismatches across multiple photos of the same object. Serious production teams usually treat outputs as fast base meshes that still need cleanup, optimization, and style polishing.
Is the PromeAI 3D model generator suitable for beginners or non-3D specialists?
Yes. One of the strengths of PromeAI 3D model generator capabilities is that non-3D specialists can quickly turn reference photos into orbitable 3D assets without learning modeling tools. Beginners can use GLB exports for simple web or presentation previews, while experienced artists later refine topology, UVs, and materials for final delivery.
Recommended Reads
Leave a Reply