
Picture this: you have a rough napkin sketch that needs to look like a photograph in ten minutes, or a perfectly lit room that suddenly needs to be sunset instead of noon. Navigating the PromeAI Tools Hub can feel overwhelming without a strategy, which is why I built this Feature Selection Decision Tree.
Think of this post as your emergency navigation system. I’ve run the tests—bouncing between the Upscaler, Erase & Replace, and Image Generation tools—to categorize them not by what they are, but by what they do for your specific design hurdles.
Whether you need to Create, Adjust, Expand, or Polish, I’ve found the fastest route for you. Let’s dive in.
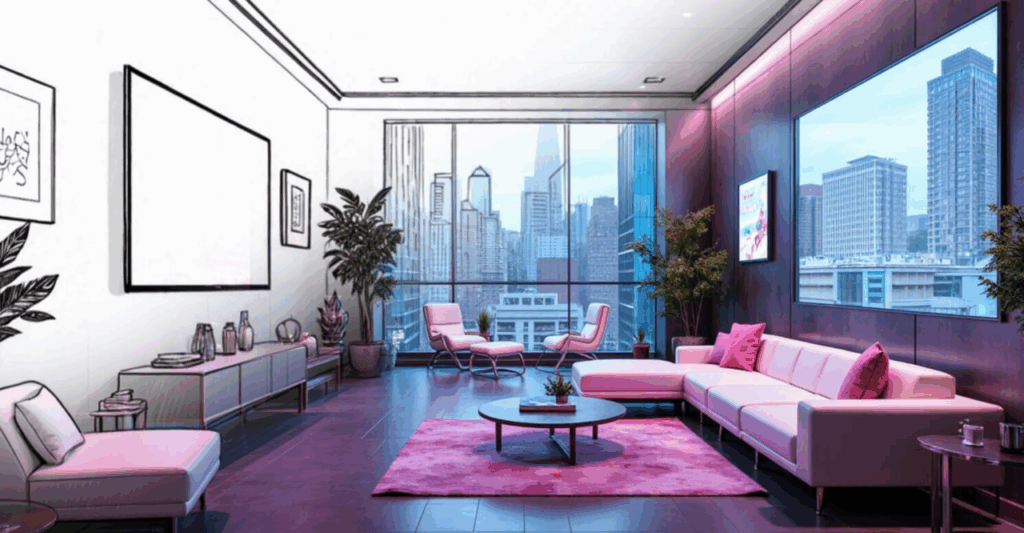
Decision Tree: Which Tool Do I Need?
Flowchart for common tasks
Let’s start with the “cheat sheet brain” version. No theory. Just: What are we trying to do?
Step 1 – What’s your starting point?
- Only a sketch / rough layout?
→ Go to Sketch to Render
- A decent image, but needs changes?
→ Go to Erase & Replace, Region Rendering, or Relight
- A finished image that needs bigger canvas or better quality?
→ Go to Outpainting or Upscaler
- You want motion from a still image?
→ Go to Image to Video
- You want fresh concepts from text only?
→ Go to Image Generation
Step 2 – What’s the actual problem?
- “I only have a line sketch and need a polished render.”
→ Sketch to Render
- “The client hates this one object / material, not the whole image.”
→ Erase & Replace (for swapping objects)
→ Region Rendering (for local re-designs with more control)
- “The frame is too tight. I need more space left/right/top for layout.”
→ Outpainting tool
- “Lighting feels flat / wrong time of day.”
→ Relight tool
- “Looks great, but too small or noisy for print / large screens.”
→ Upscaler tool
- “I want several fresh looks, not stuck with this one angle.”
→ Image Generation (for new concepts)
- “I need something eye-catching for socials or a pitch deck.”
→ Image to Video
Keep this logic in your head: Create → Adjust → Expand → Polish → Animate.
Most PromeAI AI tools sit neatly in one of those five steps.
Tool-by-Tool Guide
Sketch to Render
Use this when we’ve got: napkin sketch, quick floor plan, rough product outline.
We tested it on a messy pen sketch of a living room.
- Input: rough black pen sketch, photo of material references
- Goal: “Warm Scandinavian living room, natural light, 4K”
Settings we like:
- Style: pick something close to your final intent (e.g., Interior – Scandinavian from the PromeAI presets)
- Prompt:
“bright Scandinavian living room, light oak wood, soft fabric sofa, large window light, photorealistic, 4K”
This got us a presentable client concept in minutes instead of a full day of 3D.
For more detailed guidance, PromeAI shows more examples on their academy tutorial page.
Image Generation
Use this when we don’t even have a sketch yet and just want concepts.
Great for:
- Moodboards
- Early product design shapes
- Architectural massing ideas
Quick starter combo:
- Prompt:
“futuristic office lobby, soft indirect lighting, light wood and concrete, large skylight, minimal furniture, ultra wide angle”
- Tip: Save 2–3 versions as your “style anchors” to keep the project visually consistent.
PromeAI’s AI image generation section has a nice gallery to spark ideas.

Erase & Replace
This is the surgical fix tool.
Use the erase replace tool when:
- That one chair ruins the entire interior.
- A logo needs swapping.
- A product color must change fast.
How we usually do it:
- Upload your image.
- Brush-select the area to remove (keep it slightly inside the object edges).
- Add a clear prompt, like:
“replace with mid-century modern lounge chair, tan leather, black metal legs”
- Generate a few versions and pick the cleanest.
If the edges look weird, we switch to Region Rendering (more on that below) for finer control.
More on PromeAI’s inpainting page if you want to see detailed examples.
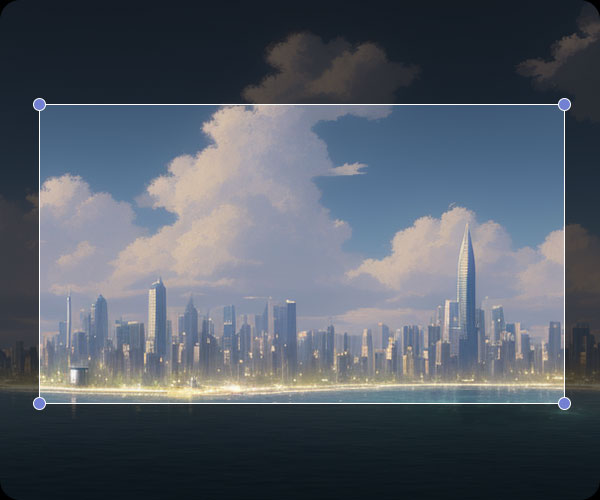
Outpainting
Think of the outpainting tool as pulling the camera back.
Use this for:
- Making a vertical hero shot out of a horizontal render.
- Extending background for posters or website headers.
- Showing more context around a product.
Basic flow:
- Upload the original.
- Extend the canvas where you need space (top, sides, or all around).
- In the prompt, mention the environment you want extended, e.g.:
“extend minimalist office, same lighting, same materials, add more workstations in distance”
PromeAI’s outpainting expand images guide has some good before/after shots.
Relight
The relight tool is for “same space, better mood.”
We like it for:
- Changing time of day on interiors.
- Trying dramatic lighting for product shots.
Example combo we used:
- Original: neutral studio product photo.
- Relight prompt:
“sunset window light from right, soft warm shadows, golden hour mood”
You can see more samples on their relight page.
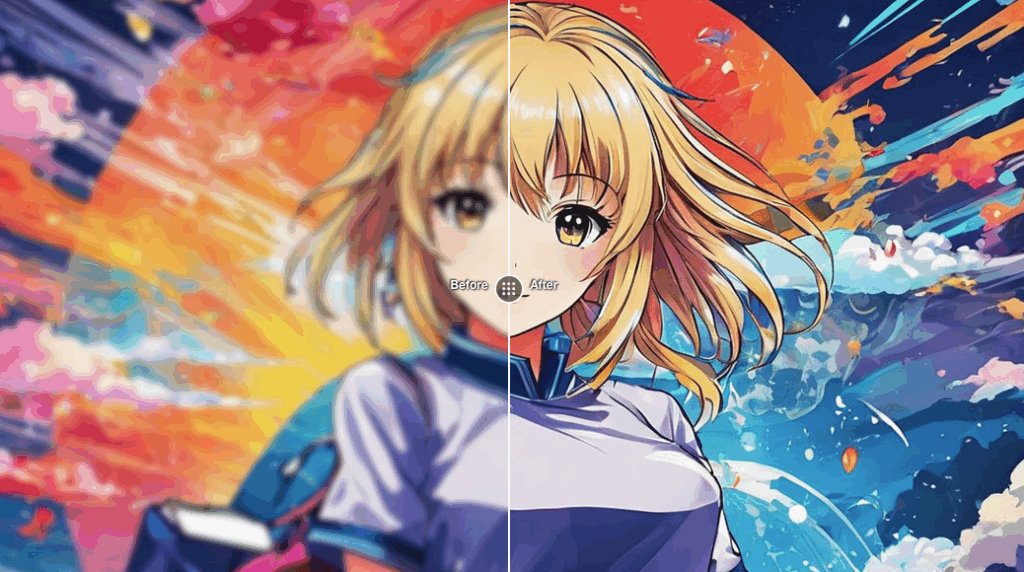
Upscaler
The upscaler tool is the last stop before sending to print or big screens.
Use it for:
- Posters and billboards.
- Trade show walls.
- Portfolio pieces that started as small AI tests.
We usually:
- Upscale 2x first.
- Check for weird sharpening.
- Then go bigger if needed.
PromeAI’s image upscaler gives some good visuals on how much detail you can rescue.
Region Rendering
This is like “local AI renovation.”
Use it when:
- Half the image is perfect, half needs rethinking.
- You want to try new façade materials without touching the sky or surroundings.
Flow:
- Mask only the area you want changed.
- Add a very specific prompt:
“replace with dark fluted wood panels, integrated LED strips, keep building proportions”
- Keep the prompt short but precise about materials and style.
Check out PromeAI’s region rendering for more granular use cases.
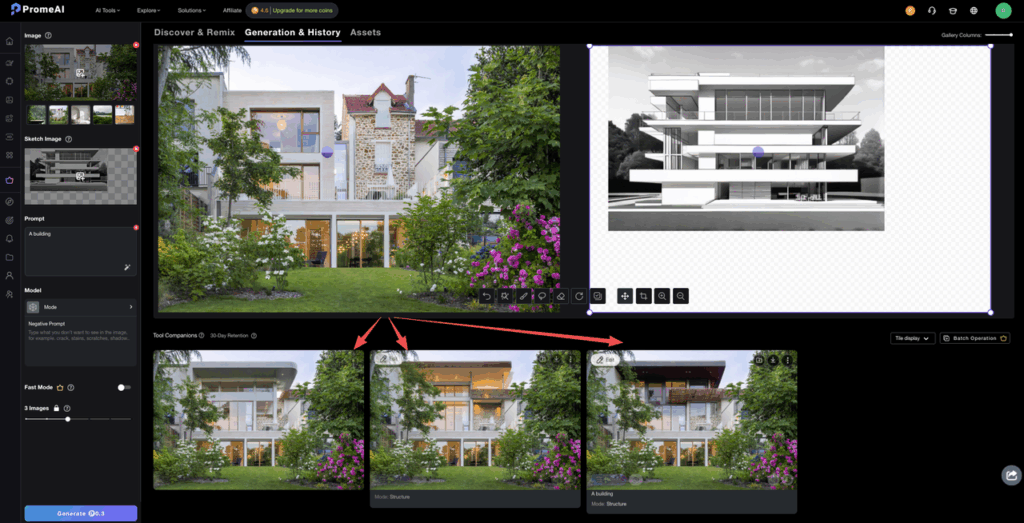
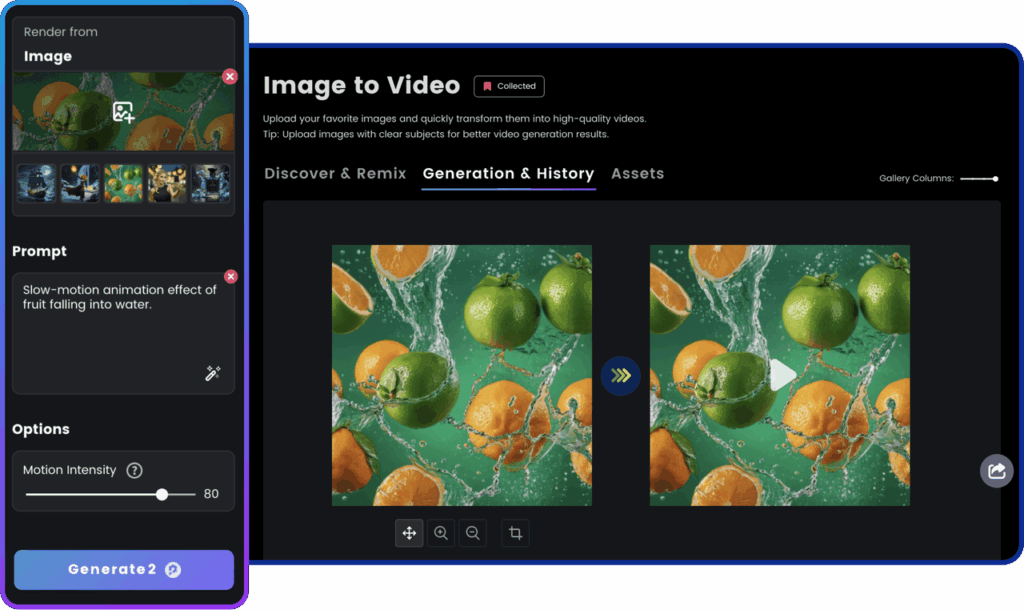
Image to Video
This is our “make it move” button.
Use it for:
- Pitch decks.
- Social media teasers.
- Quick architectural or product flythrough-style clips.
Flow:
- Upload a key visual.
- Choose a motion style (subtle camera move usually looks most professional).
- Export a short loop that drops right into slides or reels.
PromeAI showcases this in their image to video generation section.
Avoid This Mistake (Per Tool)
Common errors and fixes
Let’s save ourselves a few headaches.
Sketch to Render
- Mistake: Overloading the prompt with style buzzwords.
- Fix: 1–2 style directions only (e.g., “Scandinavian, light wood”) and let the sketch do the structure.
Image Generation
- Mistake: Expecting pixel-perfect floor plans or measurements.
- Fix: Treat it as concept art. Lock details later in CAD/3D.
Erase & Replace
- Mistake: Masking way too large an area.
- Fix: Stay close to the object edges. If context breaks, refine with Region Rendering.
Outpainting
- Mistake: Forgetting to mention “same style / same materials” in the prompt.
- Fix: Reuse keywords from your original design description.
Relight tool
- Mistake: Pushing lighting so far it no longer matches the original architecture.
- Fix: Keep the same main light direction: just change mood (warm/cool, soft/hard).
Upscaler tool
- Mistake: Upscaling low-quality thumbnails and expecting miracles.
- Fix: Start with the best source you have: upscale in stages (2x → 4x).
Region Rendering
- Mistake: Asking it to redesign too many things at once.
- Fix: One design decision per pass (materials first, then signage, then décor).
Image to Video
- Mistake: Using wild motion on serious client pitches.
- Fix: Stick to slow camera moves. Think “subtle slide,” not “music video.”
For general FAQs, PromeAI has a decent list here: FAQ page.
Tool Combination Workflows
Here’s where it gets fun. The real power is chaining PromeAI AI tools.
Workflow 1 – Interior Concept to Print-Ready Board
- Image Generation for mood concepts.
- Erase & Replace to fix furniture and props.
- Outpainting tool to build wider compositions for slides.
- Upscaler tool to get print-ready resolution.
Workflow 2 – Product Hero for Marketing
- Sketch to Render for first visualization.
- Relight tool to try several moods (studio, daylight, dramatic).
- Region Rendering to refine materials and logos.
- Image to Video to create a looping social asset.
Workflow 3 – Architecture Study
- Image Generation for massing and façade ideas.
- Region Rendering to try material sets per zone.
- Outpainting to add streetscape context.
- Upscaler for portfolio spreads.
We’ve mapped out the workflows to save you time, but the real test is in your hands. Apply this decision tree on PromeAI today and see how these tools streamline your daily production.
If you want to see more PromeAI products side by side, their product list overview is a good directory.
We’ll stop here and throw it back to you: Where do you usually get stuck in this flow – idea generation, fixing details, or getting things print-ready?
Frequently Asked Questions
What is the PromeAI tools guide decision tree and how do I use it?
The PromeAI tools guide decision tree is a simple flow that helps you pick the right tool based on your starting point and problem. You first identify what you have (sketch, decent image, finished render) and then match it to tasks like Create, Adjust, Expand, Polish, or Animate.
How do I know whether to use Erase & Replace or Region Rendering in PromeAI?
Use Erase & Replace for surgical fixes like swapping a chair, logo, or color in a small area. Switch to Region Rendering when you need a more controlled redesign of part of the image, such as changing façade materials or reworking a larger zone while keeping the rest intact.
When should I choose Outpainting vs Upscaler in the PromeAI tools guide decision tree?
In the PromeAI tools guide decision tree, Outpainting is for expanding canvas and adding more context—like turning a tight render into a wider hero shot. Upscaler is for boosting resolution and clarity on already finished images so they’re ready for print, large screens, or portfolio use.
What are common mistakes to avoid when using PromeAI tools for client work?
Typical mistakes include overloading prompts in Sketch to Render, masking too large an area in Erase & Replace, forgetting to request “same style/materials” in Outpainting, and overdoing lighting shifts in Relight. A good rule: change one design variable at a time and upscale in steps for best quality.
Can I combine multiple PromeAI tools in one workflow for better results?
Yes. PromeAI is most powerful when tools are chained. For example, generate concepts first, then fix elements with Erase & Replace, widen the scene via Outpainting, and finally run Upscaler for print. For marketing, you can go Sketch to Render → Relight → Region Rendering → Image to Video.
Recommended Reads
Leave a Reply