If you are tired of your AI animations suffering from melting hands, face drift, or that weird texture swimming effect, you are in the right place. Mastering Image-to-Video in Seedance 2.0 isn’t about writing massive, poetic prompts; it’s about strict source image rules and restrained motion design.
Hi, I’m Millie, and in my daily practice as an AI visual creator, I rely on a tight PromeAI-to-Seedance workflow to deliver commercial-grade product teasers in minutes, not days. This guide strips away the experimental fluff. I am handing you the exact checklist I use to prep video-ready stills, the specific micro-motion prompts that look like real cinematography, and the troubleshooting steps to fix the three most common I2V failures. Let’s get your static designs moving perfectly, right now.
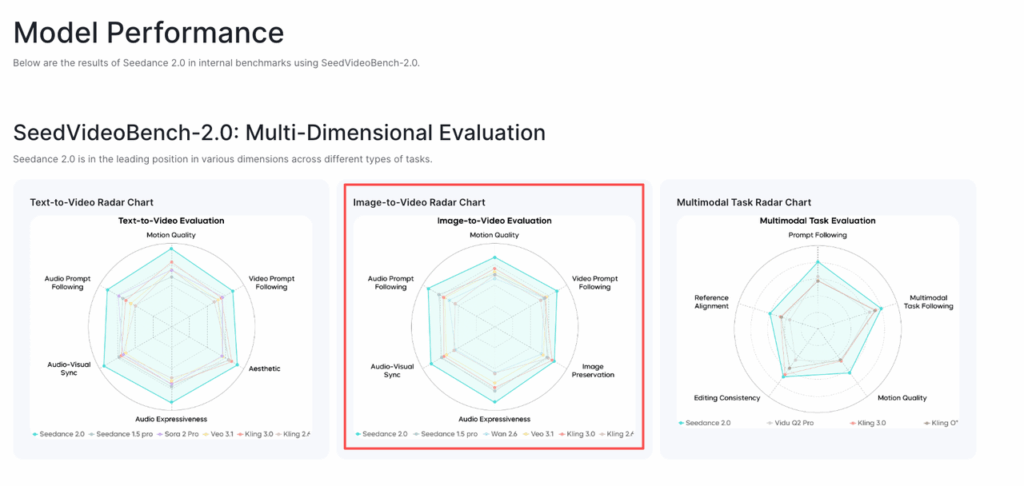
When I2V beats text-only generation
Text-only video gen is fun… until you need the exact chair, the exact packaging dieline, the exact facade massing your client approved on Tuesday.
That’s where image-to-video (I2V) wins.
Here’s when we consistently pick Seedance 2.0 image to video over text-only:
- Product marketing: we already have a hero render. We just need motion: a slow parallax, a light sweep, a rotation, a “breathing” highlight.
- Architecture/visualization: we have a still of a lobby. We want subtle life: sunlight shift, a gentle push-in, a couple of people moving in the distance.
- Brand design: we have a key visual. We want it to “come alive” for social without rebuilding it in After Effects.
And honestly? It’s also a sanity thing.
With text-only, we spend half our time re-rolling because the model changes details: logo placement drifts, materials morph, geometry gets reinterpreted. With I2V, the source image anchors identity. You’re basically saying: “Don’t reinvent the scene, animate this.”
A quick trust note: we’re not claiming perfection. We’ve absolutely seen Seedance-style I2V do the classic generative wobble. But the hit rate for “usable in a deck or a mock ad” is way higher if we start from a solid image.
Pick the right source image — what works and what breaks
This is the whole game.
If the source image is “video-ready,” Seedance 2.0 image to video can look shockingly legit. If the source image is chaotic, you’ll get chaos, with motion.
We learned this the slightly annoying way: we tested 20-ish images (product shots, portraits, interiors). The best outputs came from images that already looked like a film still.
Resolution, framing, lighting criteria
A simple checklist we use before we even try I2V:
- Resolution: start with an image that’s at least ~1024px on the short edge if you can. More detail helps the model “hold” textures when it animates.
- Framing: avoid extreme crops on faces/hands. Give the model a little breathing room around the subject (tight crops amplify drift).
- Lighting: pick one clear lighting story.
- Good: soft key + gentle fill, clean shadows, readable edges.
- Risky: mixed color temperatures (neon + tungsten + daylight), heavy noise/grain, blown highlights.
- Background: simpler is safer.
- For product: seamless studio backdrops, subtle gradients.
- For interiors: clean lines and fewer repeating micro-patterns.
- Textures: be careful with tiny repeating patterns (knit fabric, micro-tiles, tight herringbone). Those are prime candidates for texture swimming.
If you want a “quick win” starting point, we’ve had great luck with:
- 3/4 angle product render on a neutral background
- Portrait with soft light and uncluttered hair edges
- Architectural still with clear depth layers (foreground/mid/background)
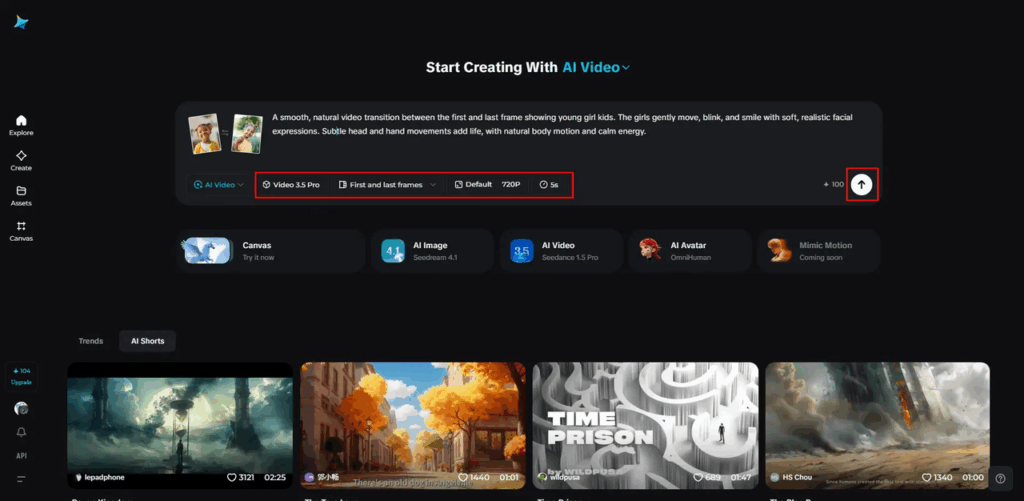
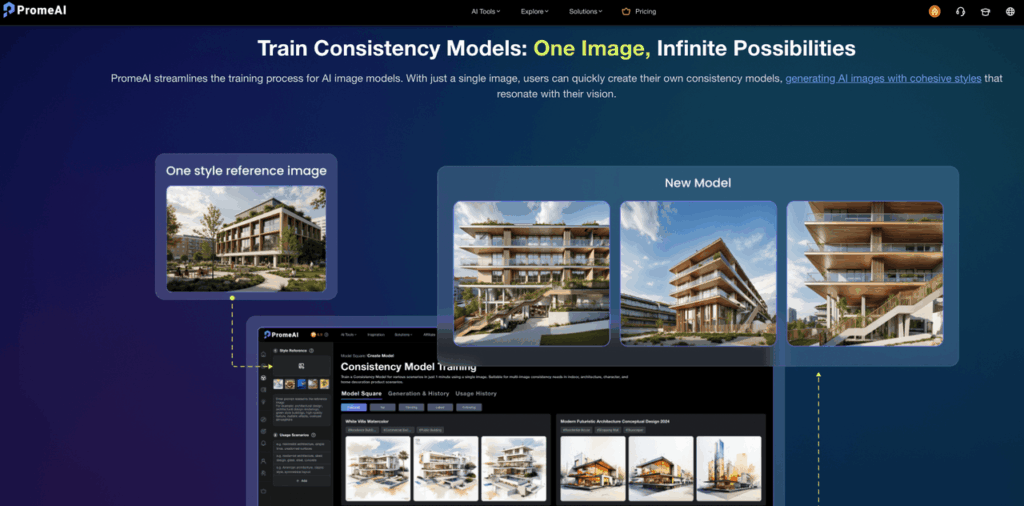
Using PromeAI to create video-ready source images
If we don’t have a perfect source image, we generate one on purpose.
One workflow that’s been weirdly effective is using PromeAI to create consistent characters and objects as a clean, controllable still first, then feeding that into Seedance 2.0 image to video.
What we do:
- In PromeAI: generate a still that looks like a commercial photo, not “AI art.”
- Prioritize simple surfaces, clean edges, and lighting that can plausibly move.
- Export the sharpest version possible.
A prompt style that tends to produce “video-ready” images (adapt for your subject):
- Prompt: “Studio product photo, softbox key light camera left, subtle rim light, clean shadow, seamless warm gray backdrop, 85mm lens look, high detail, realistic materials, no text”
- Negative prompt (if available): “no distortion, no extra parts, no warped edges, no text, no watermark, no noisy background”
Then, when we bring that still into I2V, we keep the motion small (we’ll get to that next), and suddenly the whole thing reads like a real shoot.
Yes, it’s a two-step. But it’s often faster than fighting a mediocre source image for an hour.
Motion design: small moves that look real
Here’s the biggest mindset shift:
Seedance 2.0 image to video looks best when we ask for “almost nothing.”
If we demand too much action from a single still, the model has to invent a lot of missing information. That’s when you get warping, limb nonsense, or identity drift.
So we design motion like we design UI microinteractions: subtle, intentional, satisfying.
A quick copy-friendly “motion menu” that keeps results grounded:
- slow push-in (2–5%)
- gentle pull-back revealing negative space
- slight left-to-right parallax
- tiny head turn / eye movement (for portraits)
- soft light sweep across product edges
- cloth/hair barely moving as if from ambient air
And we keep duration short. We’d rather loop a clean 4 seconds than salvage a messy 10.
Micro-actions vs full-body actions
This is where most teams burn time.
Micro-actions (high success rate):
- “subtle smile forming”
- “blink once, natural”
- “fingers adjust grip slightly” (with hands clearly visible)
- “product rotates 5–10 degrees”
- “steam rises gently from mug”
Full-body actions (riskier from one image):
- walking/running
- dancing
- big arm swings
- spinning around
- anything with occlusion (hands crossing face, turning fully sideways)
Our rule: if the action would require the camera to see new surfaces the still never showed (back of a head, hidden arm, underside of a product), it’s a gamble.
Camera + lighting cues for realism
If we can give only one piece of advice: describe the camera like we’re directing a tiny shoot.
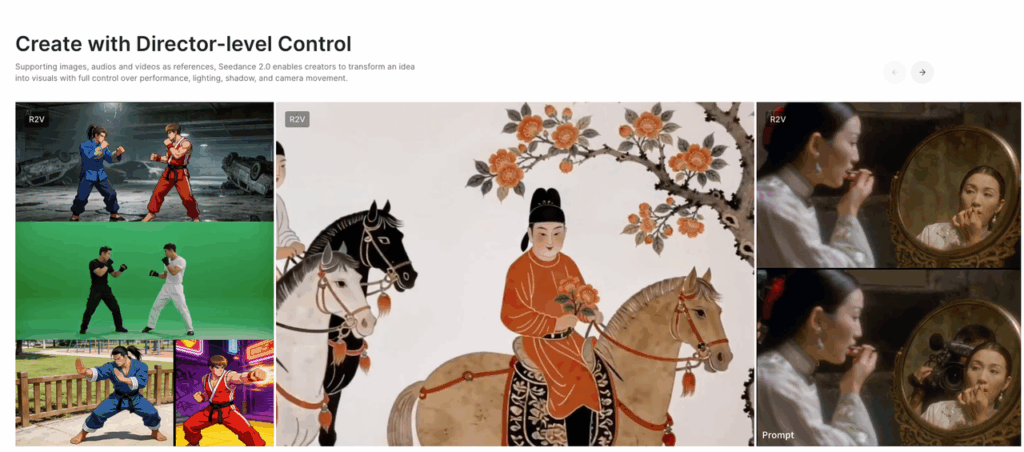
Refer to our Seedance 2.0 camera movement cheat sheet for a full breakdown of cues that actually work. Most people prompt motion like a vibe. We get better results when we prompt motion like a constraint.
Camera cues that tend to look real:
- Lens feel: “35mm documentary feel” or “85mm portrait compression”
- Movement: “handheld micro-shake, very subtle” (use sparingly) or “locked tripod, no shake”
- Speed: “slow, steady push-in” beats “zoom in fast”
- Depth: “shallow depth of field, gentle bokeh” (only if the source image already has that look)
Lighting cues that help a lot:
- “soft key light from camera left remains consistent”
- “subtle highlight roll across edges”
- “no flicker, no exposure pumping” (seriously, say it)
Two prompt patterns we reuse:
- Realism lock: “maintain original materials, logos, and geometry: no morphing: no added text: consistent lighting”
- Commercial look: “clean product ad, studio lighting, slow camera move, crisp edges, realistic reflections”
Fixes: face drift, limb glitches, texture swimming
Even with great inputs, we still hit three recurring issues. Here’s how we reduce them without turning this into a week-long VFX project.
1) Face drift (identity slowly changes)
What it looks like: eyes spacing shifts, jawline slides, the person becomes their cousin by second 4.
What we do:
- Start with a face that’s front 3/4 (not extreme profile).
- Ask for micro-actions only (blink, tiny smile).
- Add a constraint line: “keep facial features unchanged.”
- Shorten the clip. Drift often ramps up over time.
If you have an option to increase “image strength” / “reference strength,” we push it higher for portraits.
2) Limb glitches (hands do that… thing)
What it looks like: extra fingers, melting wrists, sudden hand teleport.
What we do:
- Avoid prompting hands to do complicated actions.
- Make sure hands are fully visible in the source image (partial hands glitch more).
- If the tool supports it, mask/lock the hand region or reduce motion there.
And a very human workaround: if the hand is the problem, we’ll crop the shot tighter to remove it, or change framing so hands are off-screen.
3) Texture swimming (patterns shimmer or crawl)
What it looks like: fabric, hair, tiled walls, or brushed metal “wiggles” like it’s alive.
What we do:
- Choose source images with larger, simpler textures.
- Avoid micro-patterns in wardrobe/background.
- Reduce motion. Swimming gets worse with aggressive camera moves.
- Add prompt constraints: “no texture flicker, no shimmering.”
Sick of your AI videos suffering from face drift and melting hands? We built PromeAI to help you generate the clean, video-ready stills your I2V workflow actually needs. Try PromeAI for your next project and see the difference a solid foundation makes.
👉 Start generating with PromeAI
A quick safety + usage note
If you’re using client assets (faces, unreleased products), treat I2V like any cloud tool:
- don’t upload anything you can’t risk leaving your machine
- check the platform’s data handling terms before using sensitive material
- keep internal reviews watermarked
For the most current capabilities, limitations, and safety guidelines, refer to the official Seedance 2.0 documentation by ByteDance directly.
Frequently Asked Questions
What is Seedance 2.0 image to video, and what is it best for?
Seedance 2.0 image to video turns a single still image (like a product render, portrait, or architectural visual) into a short animated clip. It’s best for “launch teaser” style motion—subtle camera moves, light sweeps, and gentle parallax—when you need the exact approved design to stay consistent.
When should I use Seedance 2.0 image to video instead of text-to-video?
Use Seedance 2.0 image to video when identity must not change—exact packaging, logos, materials, geometry, or a specific facade. Text-only generation often reinterprets details between takes. Image-to-video anchors the output to your source image, so you’re effectively saying, “Animate this scene—don’t reinvent it.”
What kind of source image works best for Seedance 2.0 image to video?
The best source image is “video-ready”: at least ~1024px on the short edge, clean framing with breathing room (especially around faces/hands), and one clear lighting setup. Simple backgrounds and larger, readable textures hold up better. Tiny repeating patterns (knit, micro-tiles) often trigger texture swimming.
What motion prompts look most realistic in Seedance 2.0 image to video?
Small, physically plausible motion wins: slow push-in (2–5%), gentle pull-back, subtle left-to-right parallax, soft light sweep, or minimal facial micro-actions like a blink. Keep clips short (around 4–6 seconds). Big actions (running, dancing, spinning) force the model to invent unseen surfaces and often break.
How do I fix face drift in Seedance 2.0 image to video outputs?
Start from a front or 3/4 face (avoid extreme profiles), keep the requested motion minimal, and add a constraint like “keep facial features unchanged.” Shorten the duration—drift tends to increase over time. If your tool offers image/reference strength, increase it for portraits to better preserve identity. For a deeper dive on how to use Seedance 2.0, DataCamp’s overview is a solid starting reference.
Leave a Reply