
Last night, I did the thing I always tell clients not to do. I took a batch of stunning “final” images directly from a project, dropped them into a portfolio page, and hit publish. The result? The page felt like it was wading through syrup. While the visuals looked gorgeous, Google Lighthouse was furious, and the gallery took forever to load.
If you’ve ever watched a potential client bounce because your site wouldn’t load, you know the pain. As an AI design specialist, I know that balancing PromeAI export settings with speed is a tightrope walk. So, I ran a tight test to find the sweet spot for portfolio web quality—ensuring crisp details on retina screens without turning your site into a PDF-sized heavy lifter. Here is the exact sizing and SEO best practices workflow I’m using right now.

Recommended Sizes by Use
Exporting is like plating food. Same dish, different plate size.
If we export everything at “huge, just in case,” our portfolio looks sharp… but loads like a tired laptop on hotel Wi‑Fi. If we export too small, we get blur, banding, and that “why does this look worse than in PromeAI?” feeling.
Here’s what’s worked best for us when we export images for web from PromeAI.
Portfolio hero
This is the big banner image at the top, first impression, highest stakes.
Our go-to export size:
- Desktop: 2560 × 1440 (or 2880 × 1620 if it’s ultra-detailed)
- Mobile: 1440 × 810
Why: Most portfolio heroes render around 1200–1600px wide on desktop. Exporting at ~2× gives us retina sharpness without going full billboard.
Quick check before exporting:
- If the hero has tiny text or fine linework (architecture elevations, UI screens), we lean 2880px wide.
- If it’s more photographic (concept renders, mood shots), 2560px wide is usually plenty.
Target file size after compression:
- WebP: ~250–600KB
- JPEG fallback: ~350–900KB
Gallery thumbnails
Thumbnails are sneaky. They’re small, but there are lots of them.
Our go-to export size:
- 800 × 800 (square grid)
- 960 × 640 (3:2 grid)
If we’re using a masonry layout where thumbnails can expand, we’ll bump to 1200px on the long edge.
Target file size after compression:
- WebP: 30–90KB each
Small but important tip:
- If a thumbnail is just a crop of a bigger image, don’t export it separately at full resolution and “resize in CSS.” That’s how a grid quietly becomes 8MB.
Case study images
Case study pages are where we tend to overdo it, because we want people to zoom in.
We’ve had the best results splitting images into two buckets:
- Standard in-page images (most screenshots/renders)
- Long edge: 1800–2200px
- Great balance of clarity and load speed
- Zoom-worthy details (one or two per case study)
- Long edge: 2800–3200px
- Use sparingly (because these get heavy fast)
Target file size after compression:
- Standard: 150–500KB (WebP)
- Zoom-worthy: 400KB–1.2MB (WebP)
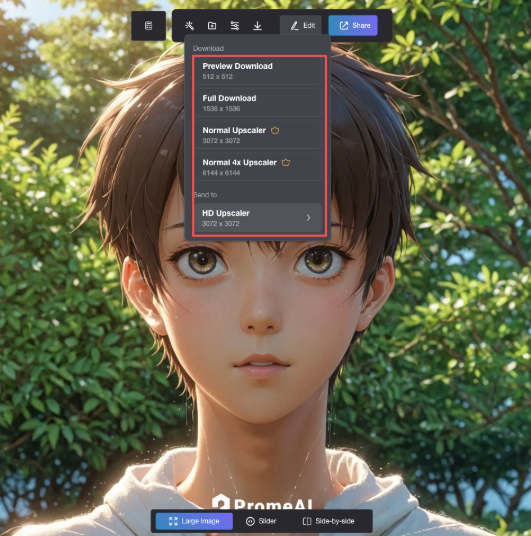
What we actually do in PromeAI:
- Export at the closest size to the final display (or slightly larger).
- Then do image size optimization in a second step (WebP conversion/compression). PromeAI gets us the look: our compressor gets us the speed.
If you want to double-check your intended display width, open the page, inspect the image container, and look at the rendered width in pixels. That number is your north star.
WebP vs JPEG Rules
We used to treat this like a debate. Now we treat it like a rulebook.
WebP is usually the default for portfolio images because it’s smaller at similar quality. JPEG still has a place when we need smoother gradients or compatibility.
(And yes, AVIF exists, but WebP is the easiest “pretty + practical” combo for most portfolios today.)
For reference, Google’s WebP documentation is clear that modern formats like WebP can reduce bytes significantly versus older formats in many cases.
When to use which
Use WebP when:
- The image is a render, concept art, product mock, or most photography
- The page has multiple images (gallery, case study)
- We care about speed (we do)
Use JPEG when:
- We see banding in smooth gradients (skies, soft studio backdrops)
- WebP creates weird “mosquito noise” around fine texture
- We need a simple fallback (some setups still prefer it)
Rule of thumb we follow:
- Export both if our site supports it: WebP as primary, JPEG as fallback.
If you’re not sure your setup supports modern formats well, Cloudflare’s image format guide has a nice plain-English breakdown of image formats and delivery tradeoffs. For a deeper dive into the technical differences, check out this JPEG vs WebP comparison.
Compression settings
Here’s the cheat sheet we keep pinned in our team notes.
WebP (lossy) quality settings (starting points):
- Thumbnails: Q=60–70
- Standard case study images: Q=70–82
- Hero images: Q=78–88
JPEG quality settings (starting points):
- Thumbnails: Q=60–70
- Standard: Q=70–80
- Hero: Q=78–85
How we decide in 30 seconds:
- Zoom to 100%.
- Look at edges (thin lines, text), then gradients (sky, shadows).
- If text/linework looks brittle: bump quality by +5.
- If gradients band: try JPEG Q~80 or export a slightly larger image and compress less.
A very real PromeAI-specific note:
AI-generated textures can be “busy.” Compression hates busy. If PromeAI output has lots of tiny noise (concrete grain, foliage, fabric), we sometimes:
- Export a touch larger (so details survive), then
- Compress a little less aggressively.
That combo often beats “small export + heavy compression,” which is where the crunchy artifacts show up.
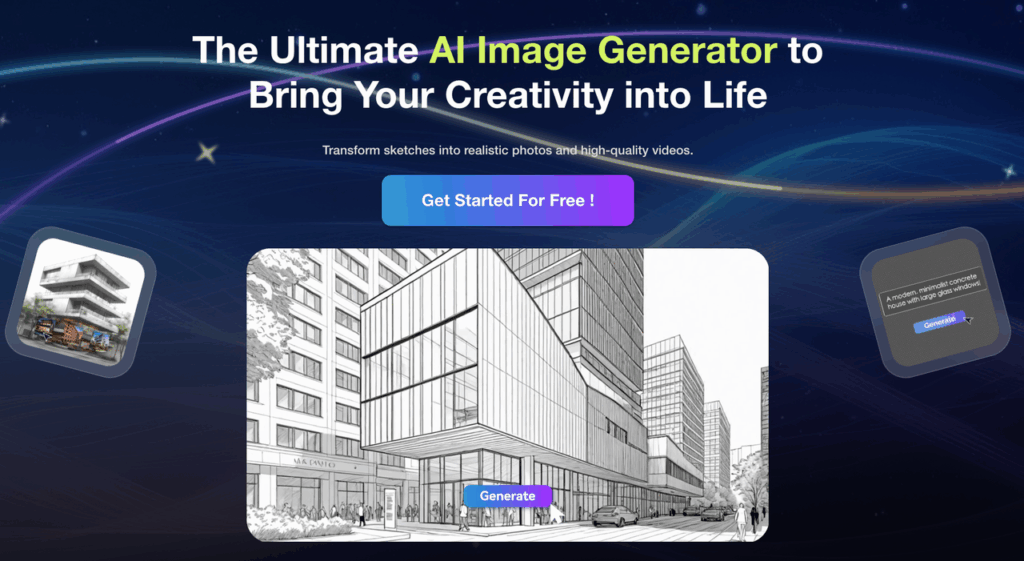
Want to confirm PromeAI’s current export options? Start at the official site and check the export UI as it changes over time: PromeAI.
File Naming & Alt Text
This is the unsexy part. And it matters.
Good naming keeps your project sane. Good alt text helps accessibility (and gives search engines clearer context). Also: it saves us from “final_final_v7_USETHISONE.webp.”
SEO-friendly naming
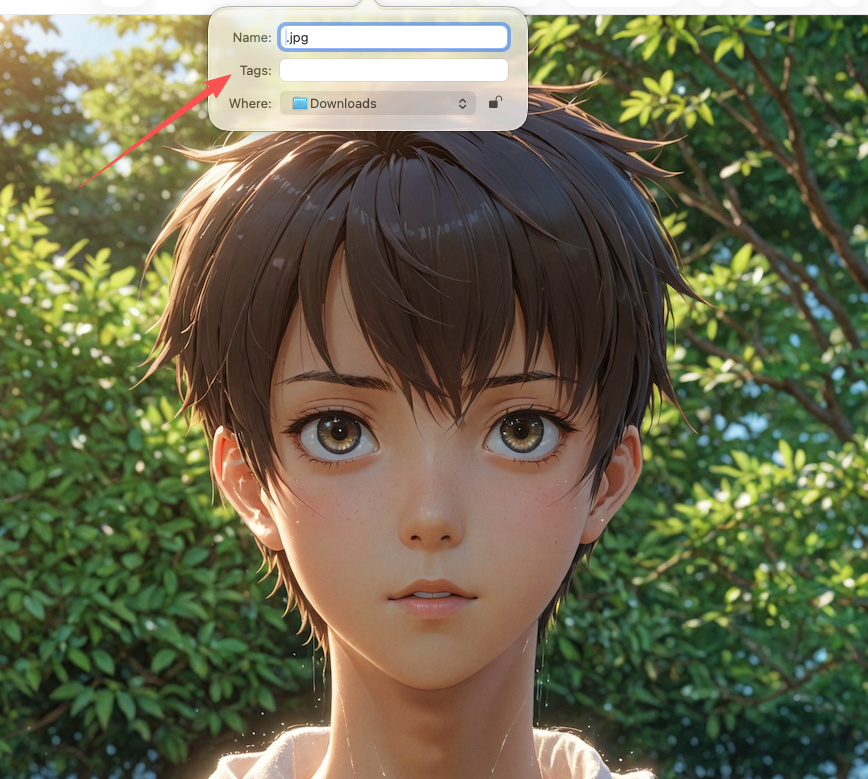
We name files like they’re going to be searched and reused later, because they will be.
Format we use:
- project-topic-medium-location-size.format
Examples:
- luna-chair-industrial-design-render-2200w.webp
- north-loft-architecture-concept-livingroom-2560w.webp
- acme-app-ui-case-study-onboarding-1800w.webp
Rules that keep it clean:
- Use hyphens, not underscores
- Keep it readable (4–8 words is fine)
- Add a size hint like 1800w when we export multiple variants
This helps when we’re managing case study images across WebP/JPEG, plus multiple breakpoints. For more context on why image size optimization matters for web performance, Shopify has a comprehensive guide.
Alt text templates
Alt text isn’t a caption. It’s a description for someone who can’t see the image.
We use templates so we don’t overthink every single one.
Template A (product/industrial design):
- “3D render of [product] showing [key feature] in [setting/background].”
Example:
- “3D render of Luna chair showing bent plywood arms in a neutral studio setting.”
Template B (architecture):
- “Concept render of [space/building] with [notable element] under [lighting/time].”
Example:
- “Concept render of North Loft living room with floor-to-ceiling windows under warm afternoon light.”
Template C (UI/marketing):
- “Screenshot of [screen/page] highlighting [feature/task].”
Example:
- “Screenshot of Acme app onboarding screen highlighting the 3-step setup checklist.”
Tiny warning we stick to:
- Don’t keyword-stuff alt text. If it reads weird out loud, it’s probably bad alt text.
Also, if an image is purely decorative (like a divider graphic), we leave alt empty (alt=””) so screen readers don’t have to listen to nonsense.
Performance Checklist
This is the checklist we run before publishing any PromeAI-heavy portfolio page. It takes 10 minutes and saves hours of “why is this slow?” later.
- Export to the right max width (don’t ship 5000px images if the layout shows 1400px)
- Convert to WebP for most images: keep JPEG fallback for tricky gradients
- Aim for these ballparks:
- Thumbnails: 30–90KB
- In-page images: 150–500KB
- Hero: 250–900KB
- Use lazy loading for below-the-fold images (most site builders support this now)
- Set explicit width/height attributes to reduce layout shift
- Don’t forget mobile: test on your phone over cellular at least once
- Watch out for “busy texture” outputs from PromeAI, compress them less, or export slightly larger
- Keep filenames consistent and alt text human-readable
One more honest note from our testing: every portfolio has a different “breaking point.” A photo-heavy marketing page might handle 20 images easily. A case study with lots of full-width renders might start feeling heavy at 8–12.
If we’re unsure, we run a quick Lighthouse check in Chrome DevTools and look at “Total Bytes” and “Largest Contentful Paint.” You can also use PageSpeed Insights for a comprehensive analysis. For those new to responsive image techniques, web.dev has excellent learning resources.
Alright, your turn.
We have mapped out the exact specs for a fast, sharp portfolio; now you just need the visuals. Explore PromeAI to create professional-grade designs that look stunning at 2560px or 800px.
Where do we usually get stuck in this workflow: choosing the right export size, getting WebP compression to look clean, or keeping case study pages fast once there are a lot of images?
Frequently Asked Questions about PromeAI Export Images for Portfolio Web Quality
What export sizes should I use to get PromeAI export images portfolio web quality for a portfolio hero?
For a portfolio hero, export around 2× the typical rendered width for retina sharpness. Use 2560×1440 on desktop (or 2880×1620 for ultra-detailed linework) and 1440×810 on mobile. After compression, aim for ~250–600KB WebP, or ~350–900KB JPEG fallback.
How do I export gallery thumbnails from PromeAI without making my portfolio page slow?
Use dedicated thumbnail exports instead of resizing huge images in CSS. Good defaults are 800×800 for square grids or 960×640 for 3:2 grids; for masonry layouts that expand, go up to ~1200px on the long edge. Target 30–90KB per thumbnail in WebP to keep grids lightweight.
What’s the best long-edge size for PromeAI case study images while keeping web quality crisp?
Split case study images into standard and zoom-worthy. For most in-page images, export 1800–2200px on the long edge for a strong clarity/speed balance. Reserve 2800–3200px for one or two detail images. Typical targets are 150–500KB (standard) and 400KB–1.2MB (detail) as WebP.
Should I use WebP or JPEG to improve PromeAI export images portfolio web quality?
Use WebP by default for renders, concept art, mockups, and photo-heavy pages because it usually delivers similar quality at fewer bytes. Switch to JPEG if you see gradient banding (skies/backdrops) or WebP “mosquito noise” on fine textures. If your site supports it, serve WebP with JPEG fallback.
What compression settings work best for PromeAI exports on portfolio websites?
Start with WebP (lossy) quality around Q=60–70 for thumbnails, Q=70–82 for standard case study images, and Q=78–88 for hero images. For JPEG, use similar ranges (often slightly lower for heroes). Always check at 100% zoom: bump +5 for brittle text/linework; change formats if gradients band.
Recommended Reads
Leave a Reply